Topics
- Article
- COVID-19
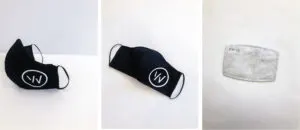
DIY WHOOP Face Masks
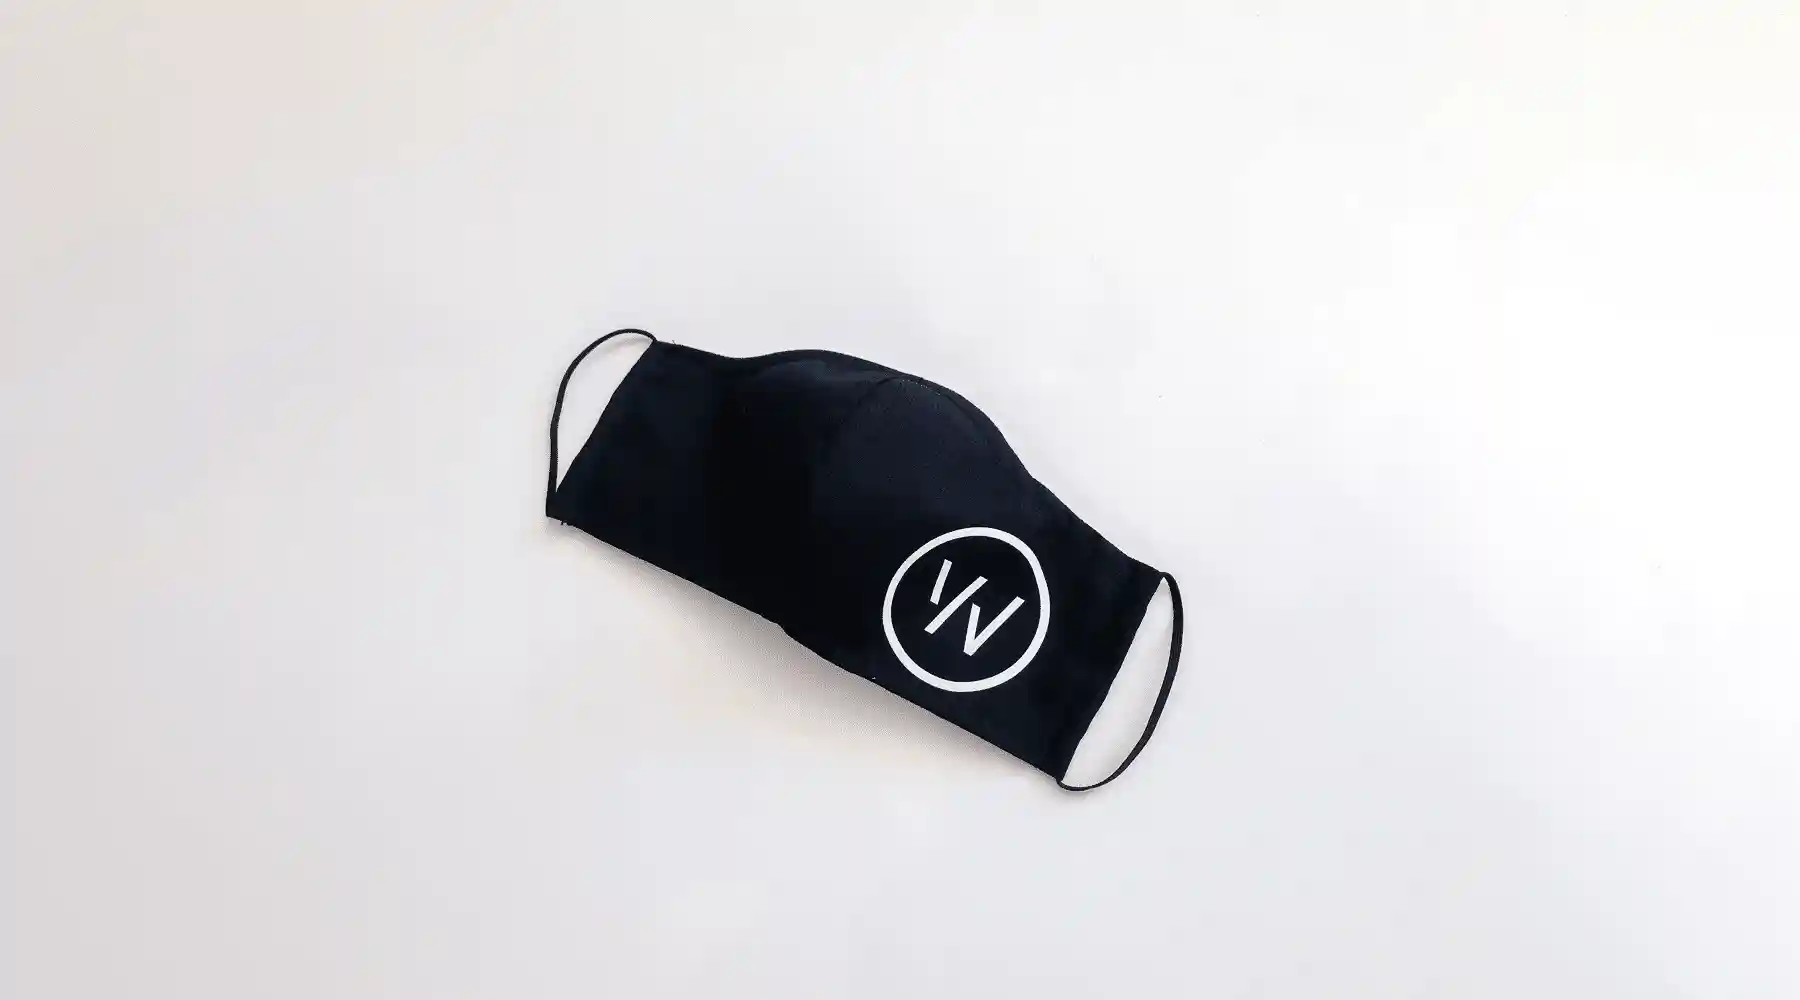
You too can make your WHOOP dust bag into a protective face cover!
WHOOP Lead Apparel & Soft Goods Designer, Jill Gennaco, can now add “Mask Makers” to her resume after she decided to put some extra WHOOP dust bags to good use by making face masks for fellow WHOOP HQ employees. A timely answer to the “what is this bag for?” question often asked by new WHOOP members, you too can make your WHOOP dust bag into a protective face cover! Grab your sewing kit and follow the instructions below to make your own WHOOP face mask. Be sure to post a picture of you and your finished product to social media tagging @WHOOP and using #whywhoop.
WHOOP Face Mask How-To:
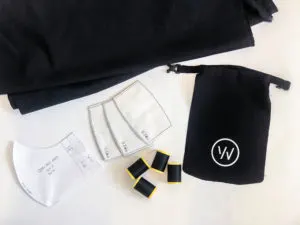
What you’ll need:
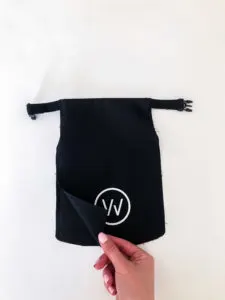
- 1 WHOOP dust bag
- Seamripper
- Thread
- Sewing Needle or Sewing Machine
- ¼” Elastic
- 100% Cotton Fabric (lining)
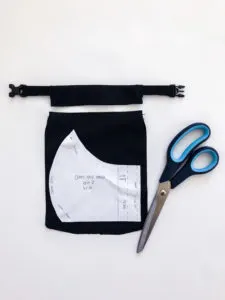
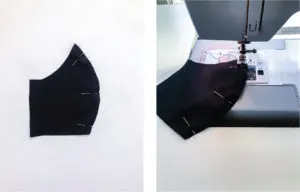
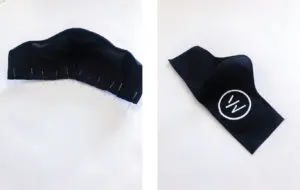
1. Using the seam ripper, rip apart the outside seam on the WHOOP bag.
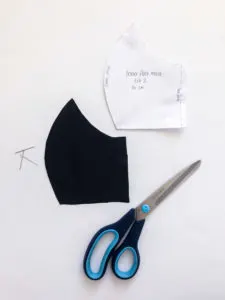
2. Create the face mask pattern pieces below (can also find online). Then place it on the bag and pin in place. Cut off the top part with the buckle for a closer cut.
3. Cut around the pattern piece to get your outer shell of the mask.
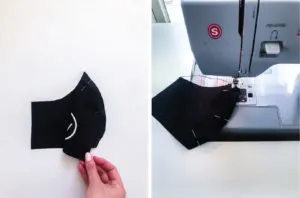
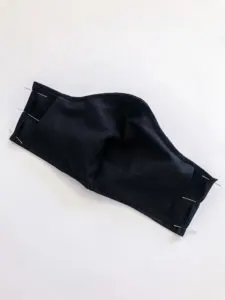
4. Flip the pieces to face right side together, and stitch along the curved part of the mask.
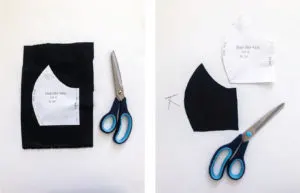
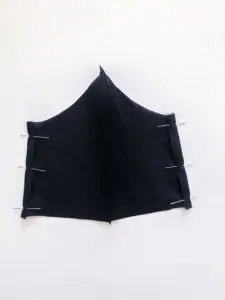
5. Create a lining pattern piece (also can be found online) and run through steps 2-4 on the 100% Cotton fabric.
6. Sew a ¼” hem on the vertical sides of your inner mask piece. (where pins are located below)
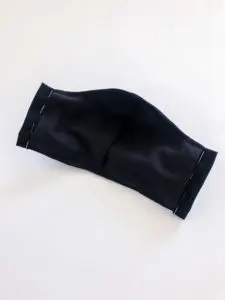
7. Take your sewn outer piece of mask and sewn inner mask, and using the center seams, line them up, right side facing each other, and stitch along the top edge of the mask. (where pins are located below)
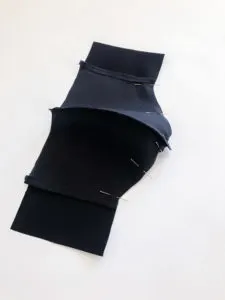
8. Turn to the face side and add a ¼” top stitch along the edge.
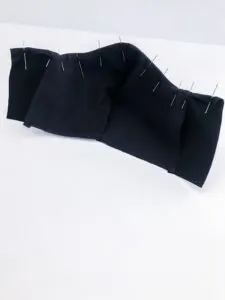
9. Repeat steps 6 & 7 with the bottom edge of the mask.
10. On the inside of outer mask, sew a ¼” binding (where the pins are below)
11. Flip that same piece you just stitched up and sew along the line below where the pins are. This will create a casing for the elastic. Make sure it is large enough to fit a safety pin through it.
12. Using a safety pin, thread the ¼” elastic through the casing. Tie a knot in the elastic where it feels comfortable on your face. Cut extra elastic pieces off.
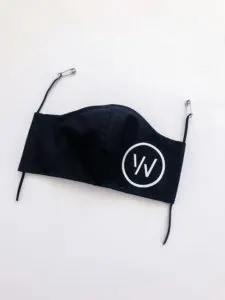
13. Insert your filter in the pocket on the back side of you mask. Change the filter every other week, and when washing, remove the filter completely!