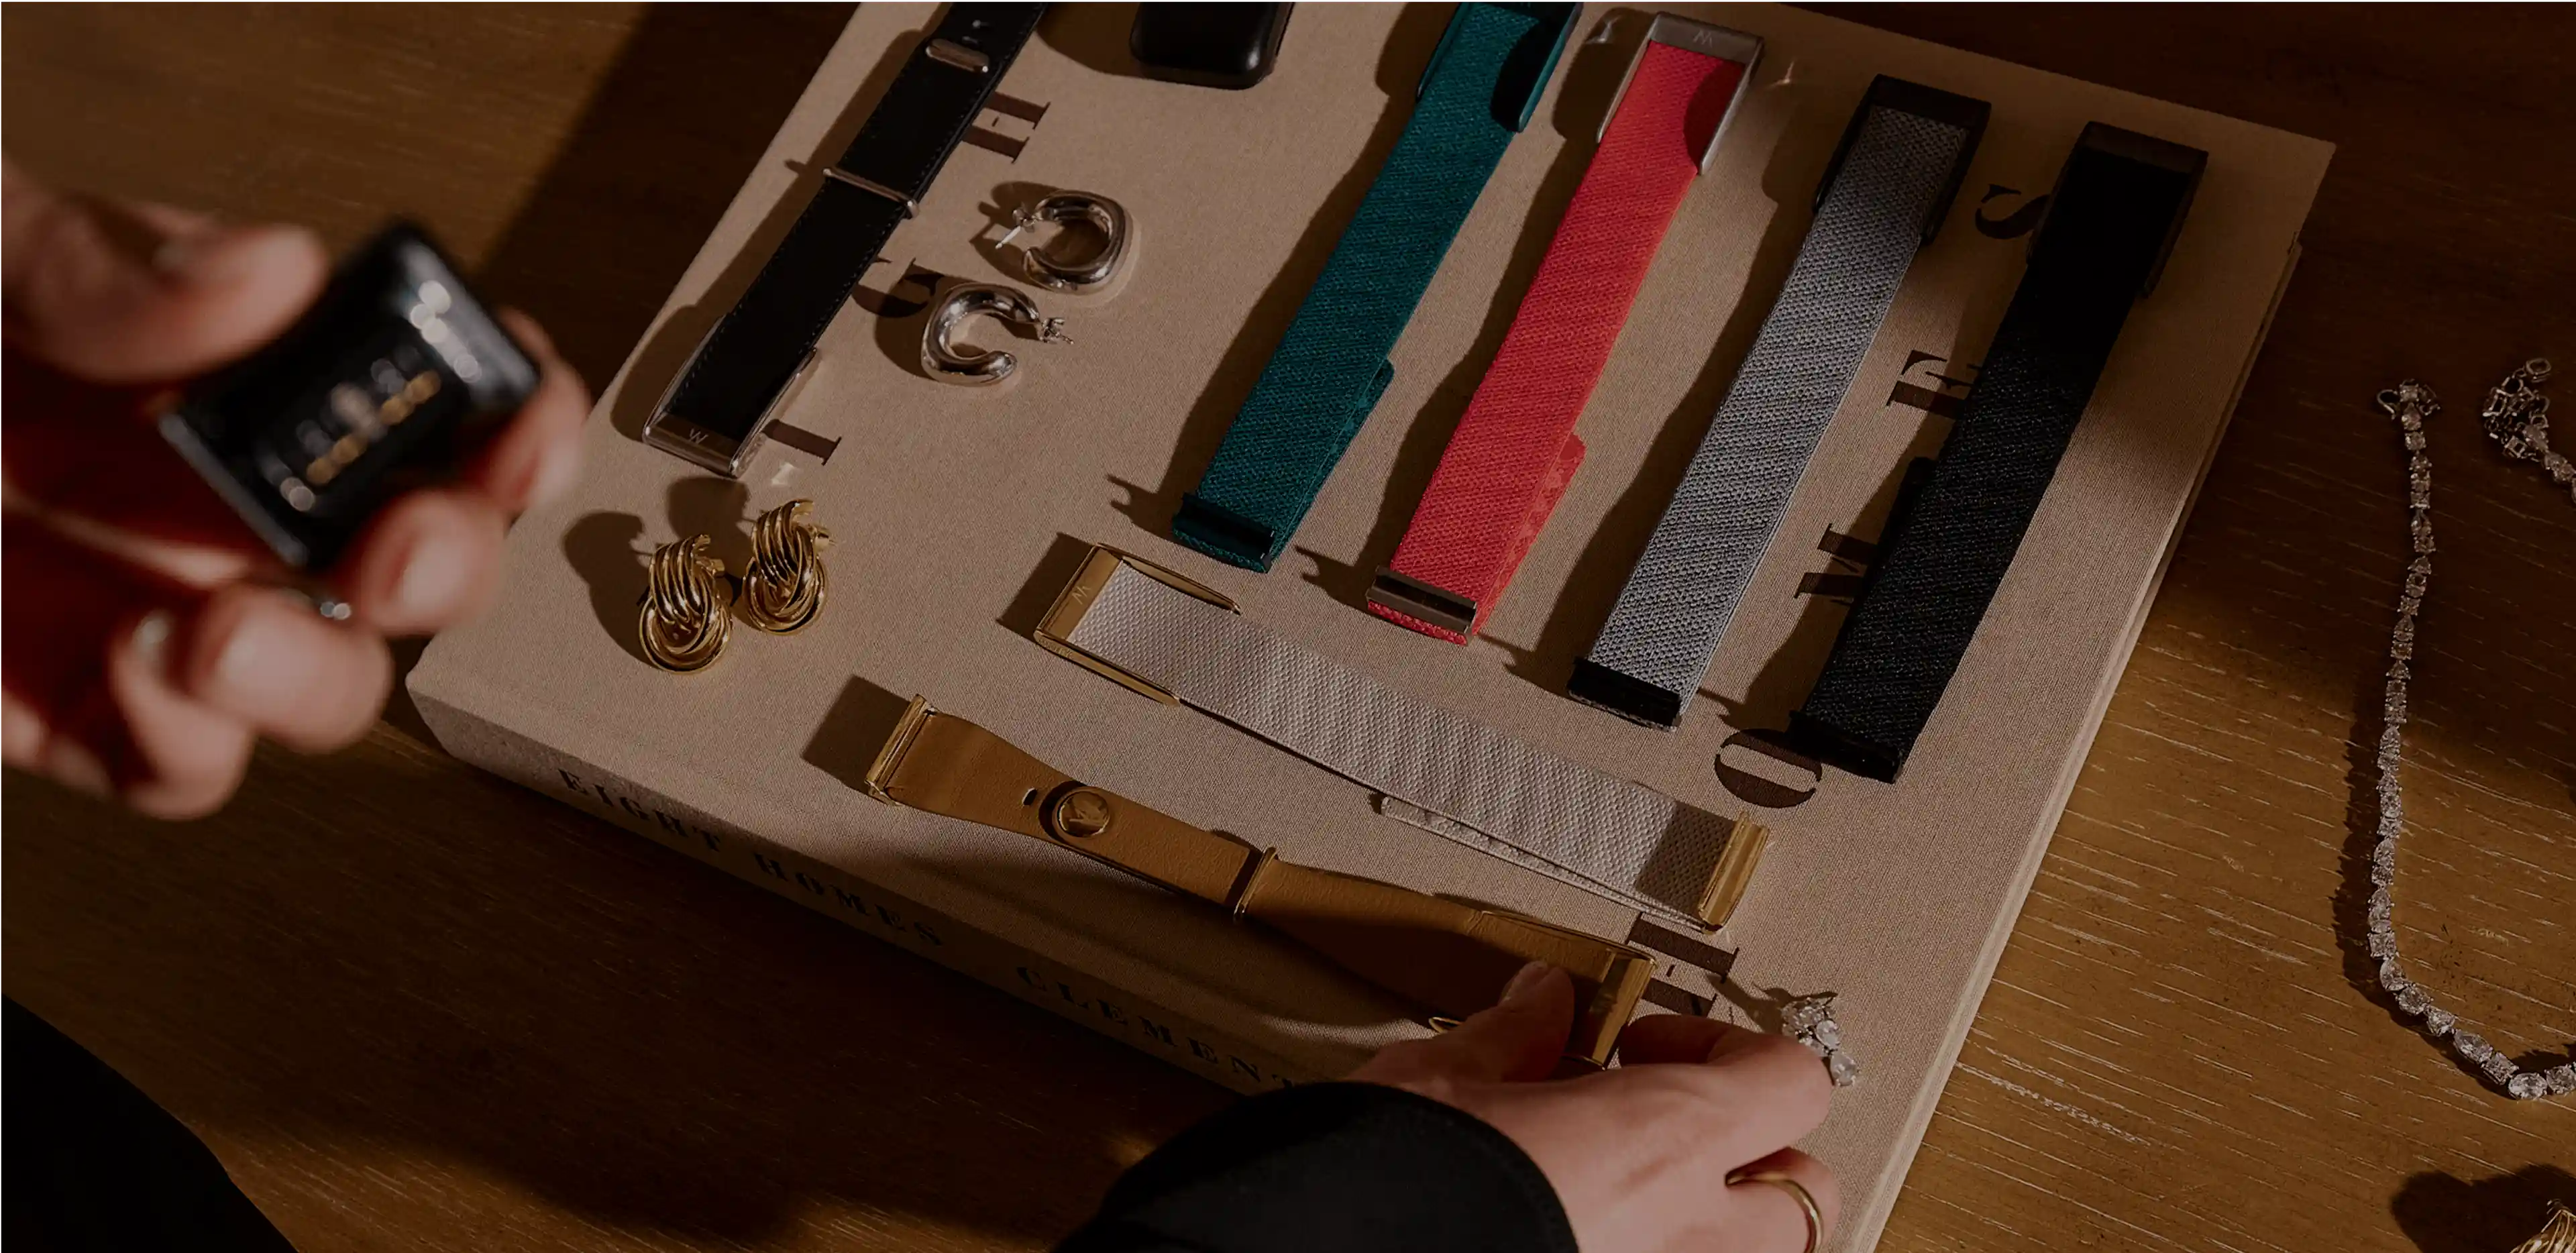
Your guide to WHOOP bands & accessories
How to Set up SportFlex
Insert your WHOOP 5.0 or MG device into the Fast Link™ slider. Secure the metal clasp into the holes on the opposite side of the sensor. Snap the clasp over the top of the device to close the band, with the WHOOP logo facing you. The band should feel snug but not too tight. If needed, remove the band, then use the adjustable closure system to find your perfect fit.
How to set up LeatherLuxe
Insert your WHOOP 5.0 or MG device into the Fast Link™ slider. Secure the metal clasp into the holes on the opposite side of the sensor. Snap the clasp over the top of the device to close the band, with the WHOOP logo facing you. The band should feel snug but not too tight. If needed, remove the band, then use the adjustable closure system to find your perfect fit.
How to set up SuperKnit
Insert your WHOOP 5.0 or MG device into the Fast Link™ slider. Secure the metal clasp into the holes on the opposite side of the sensor, then pull the loose end of the band to adjust the fit. For best accuracy, it should feel snug but not too tight—if you can fit a finger underneath, it’s too loose. Once adjusted, snap the clasp over the top of the device to close the band, with the WHOOP logo facing you.
How to set up SuperKnit Luxe
Insert your WHOOP 5.0 or MG device into the Fast Link™ slider. Secure the metal clasp into the holes on the opposite side of the sensor, then pull the loose end of the band to adjust the fit. For best accuracy, it should feel snug but not too tight—if you can fit a finger underneath, it’s too loose. Once adjusted, snap the clasp over the top of the device to close the band, with the WHOOP logo facing you.
How to set up CoreKnit
Insert your WHOOP 5.0 device into the Fast Link™ slider. Secure the metal clasp into the holes on the opposite side of the sensor, then pull the loose end of the band to adjust the fit. For best accuracy, it should feel snug but not too tight—if you can fit a finger underneath, it’s too loose. Once adjusted, snap the clasp over the top of the device to close the band, with the WHOOP logo facing you.
How to set up CloudKnit
Insert your WHOOP 5.0 or MG device into the Fast Link™ slider. Secure the metal clasp into the holes on the opposite side of the sensor, then pull the loose end of the band to adjust the fit. For best accuracy, it should feel snug but not too tight—if you can fit a finger underneath, it’s too loose. Once adjusted, snap the clasp over the top of the device to close the band, with the WHOOP logo facing you.
How to set up CloudKnit Luxe
Insert your WHOOP 5.0 or MG device into the Fast Link™ slider. Secure the metal clasp into the holes on the opposite side of the sensor, then pull the loose end of the band to adjust the fit. For best accuracy, it should feel snug but not too tight—if you can fit a finger underneath, it’s too loose. Once adjusted, snap the clasp over the top of the device to close the band, with the WHOOP logo facing you.
How to set up Bicep Band
Insert your WHOOP 5.0 or MG device into the Fast Link™ slider. Position the band on your upper arm—it should feel snug, but not too tight. If needed, adjust the band so that it stays secure without restricting movement or circulation. Snap the clasp over the top of the device to close the band, with the WHOOP logo facing you.
Your guide to WHOOP Body Smart Apparel
Insert your WHOOP 5.0 or MG device into the Any-Wear™ Pod with the sensor facing outward. With your WHOOP device inserted, place the pod onto the Velcro pad inside your WHOOP Body Smart Apparel—the sensor should still be facing outward, towards your body.
How to use the Wireless PowerPack
To charge your WHOOP slide the Wireless PowerPack onto your device while wearing it. Double-tap the PowerPack to check the LED indicator—green means fully charged, yellow means partially charged, and red signals a low battery. The PowerPack will automatically stop charging once your WHOOP reaches 100%. To recharge your PowerPack, just plug it in with the included USB-C cable and wait for the LED to turn green. Make sure it’s completely dry before charging, and store it in a cool, dry place when you’re not using it. Once fully charged, it can hold power for up to a month, so it’s always ready when you need it.
How to use the Basic Charger
To charge your WHOOP, connect the Basic Charger to a power source using the attached USB-C cable and slide it onto your WHOOP sensor. With a 1 meter (3 ft.) cord, the Basic Charger is designed for you to either wear your WHOOP while it's plugged in, or take it off.Double-tap the charger to check the LED indicator—green means fully charged, yellow means partially charged, and red signals a low battery. The charger will automatically stop charging once your WHOOP reaches 100%. You can leave it plugged in until your next charge—just be sure to store it in a dry place when it’s not in use.